(For Mac users)
I’m an engineer. I hate most of the documentation I find on the internet. I guess developers write documentation for each other, which is a pretty understandable sentiment. And we use lingo that makes sense to our club. But unintentionally, often this super technical language keeps out beginners who are just taking an online course or reading a book and just want to get things done.
I had a similar experience while trying to set up Google App Engine while taking Udacity’s Full-Stack Web Developer Nanodegree. Udacity makes it a point to not spoon-feed everything to students (so that they can become real developers), so they simply told me to go to the Google Cloud website and pointed to the documentation I required for setting up Google App Engine. Well, after a while I went insane. I had never really used the command line for these things before. I spent over 3–4 days trying different things. People in the discussion forums are very kind, and I had a long chat with one fellow student who really tried to help me set it up, but in the end I just gave up because I felt sorry for wasting the kind fellow’s time.
Finally I have figured this stuff out on my own, by piecing together stuff on the internet and trying again and again. This is a detailed tutorial for ordinary-level humans and below, explaining just how the fuck to set up Google App Engine. I’ll call it “GAE” for brevity’s sake.
This is a detailed tutorial for ordinary-level humans and below, explaining just how the fuck to set up Google App Engine.
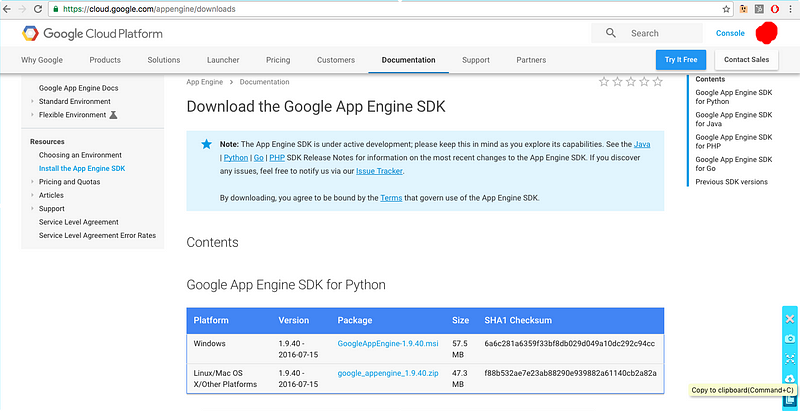
- Download Google App Engine. Called an “SDK”, and it’s basically a zip file you can find here. Here’s a screenshot:
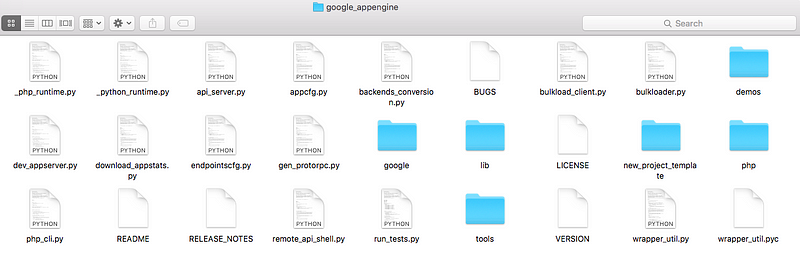
2. Unzip the damn thing. You’ll get a folder called “google_appengine”, and it will have files like these:
3. Now open the Terminal, which you can find in your applications.
4. Type in the following, exactly as I have written it here:
export PATH=$PATH:
This is just half the command, leave it unfinished like this here. Don’t click or press any button, leave it just like that.

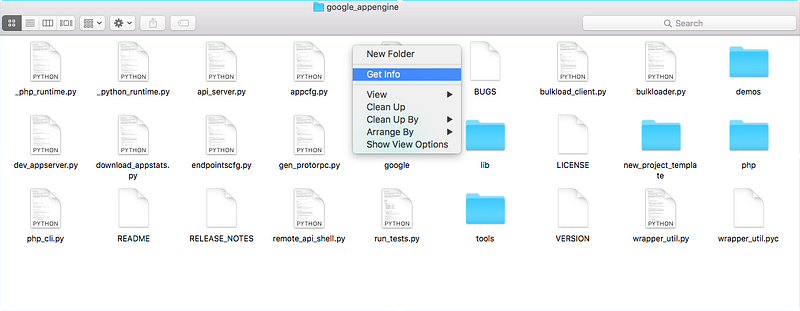
5. Open the google_appengine folder. Yes that’s right, that unzipped folder from earlier. After opening it, right-click (or double tap or whatever you do), and click on ‘Get info’.
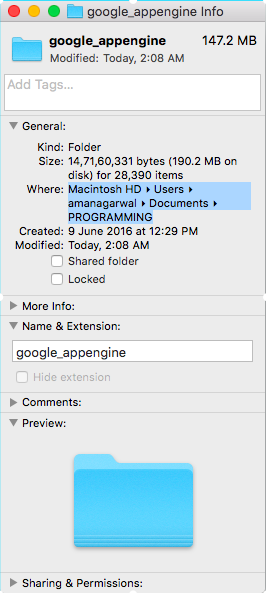
6. You will see a path to the folder’s location. Click and drag your mouse to ‘select’ it. This is what it should look like:
7. Open your terminal again in another window. It should have an unfinished “export PATH=$PATH:” there. Now, you should have two windows open like this:
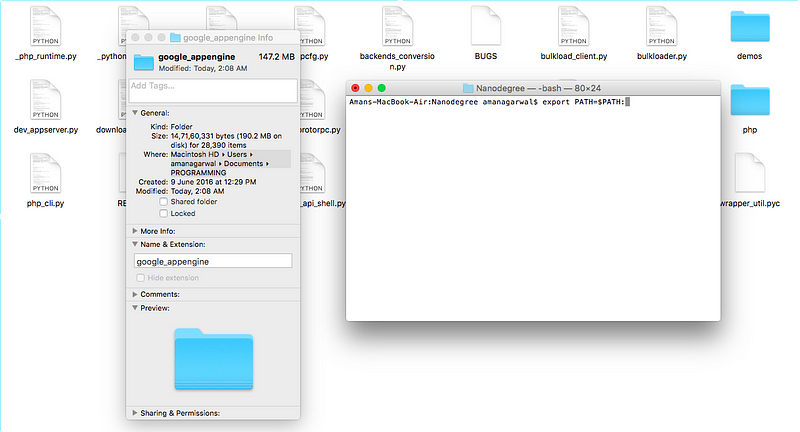
8. Drag the selected path in the folder properties box (what you see as Machintosh HD > Users > blah blah), drag it over the screen and drop it in the Terminal at the end of that unfinished command.
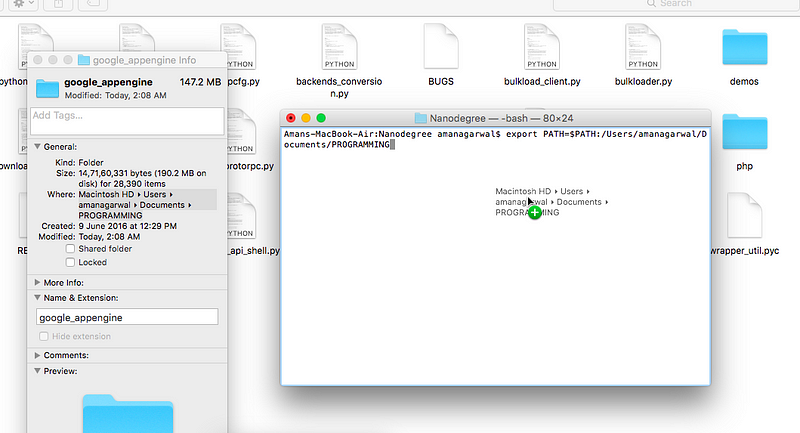
9. Alright! Now you will see the entire path till the end. Now type /google_appengine if it’s not already there.
10. Press enter on your keyboard!
Here’s a GIF showing the above action. Remember this post is for dummies like me?
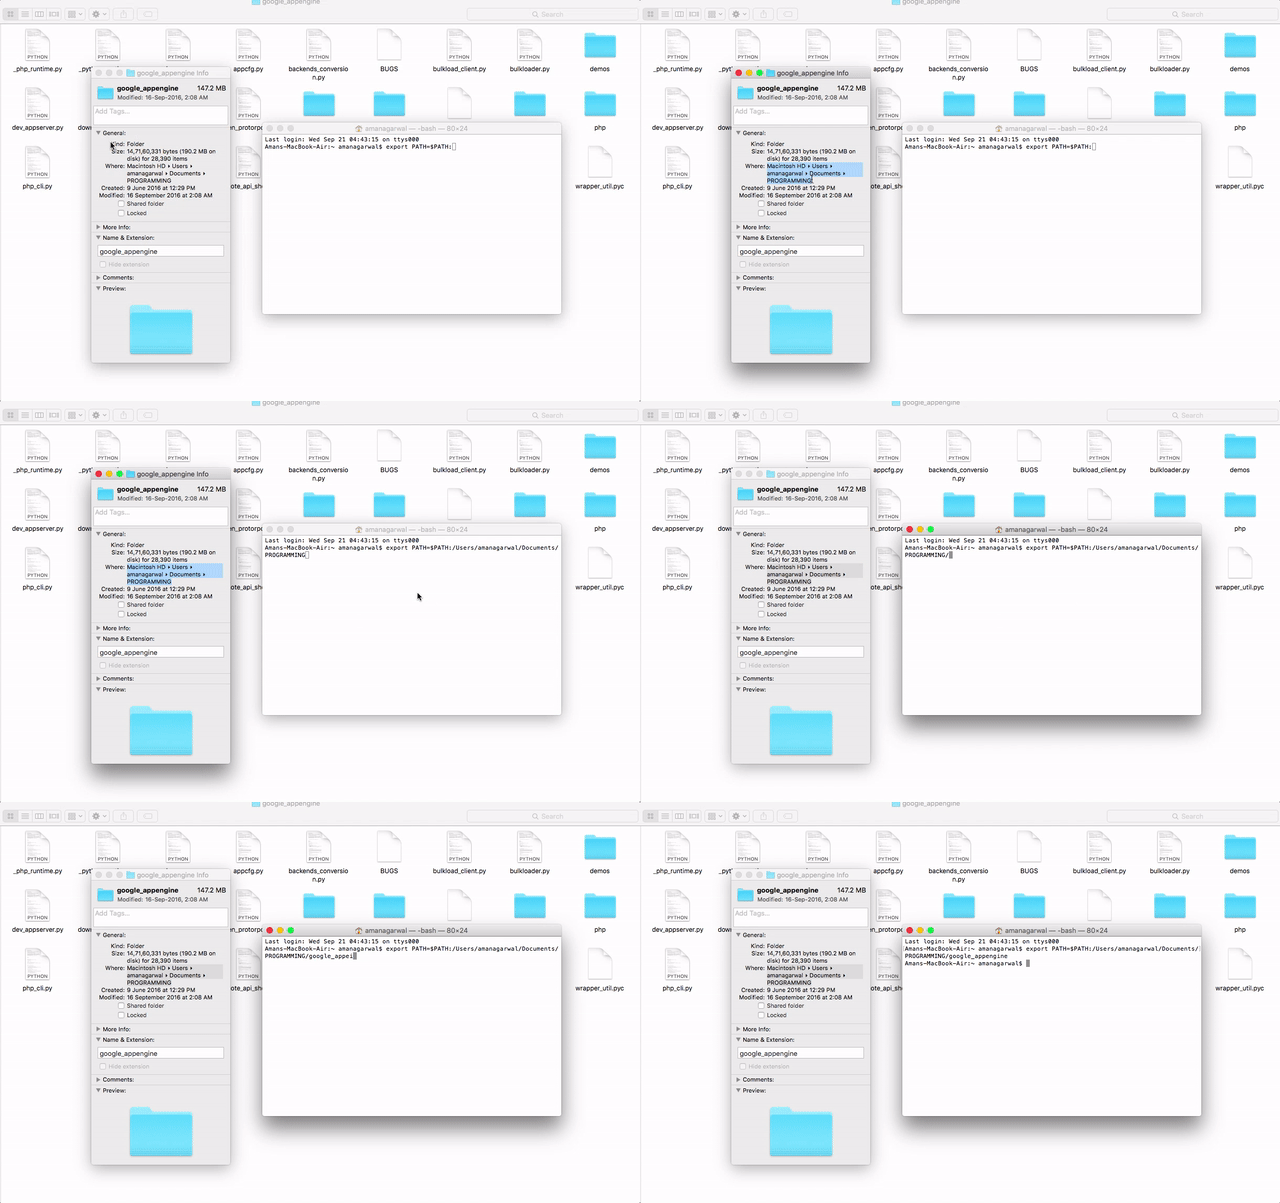
11. Now, your path has been set to include the files within google_appengine. I don’t really know what the fuck that means, but now you’re set up and can start deploying applications.
12. The first thing you need now, is an application which you will deploy (that’s the whole point, why we’re screwing around with Google App Engine instead of watching Marco Polo on Netflix, right?). A deployable application is a program which has code that handles http requests. So it will have functions and mumbo jumbo which can take care of GET and POST requests made to it. Your little Python program, however neat and awesome it may be, needs to have that kind of code before you can put it in a browser using GAE.
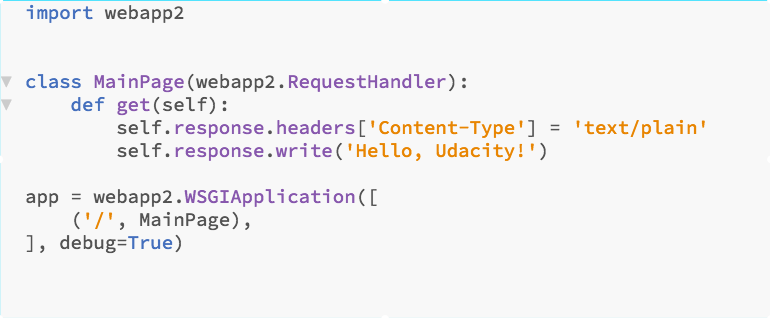
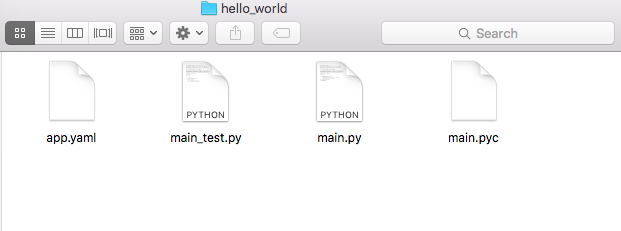
If you have such an application on your computer (basically a folder, lets say X, having a python file and an app.yaml file), it should look like this:
13. Write this in your Terminal:
dev_appserver.py <path to the folder X>
Wait, what do I mean by <path to the folder X>? Well, you remember how we found the path to the google_appengine folder? Same thing here. Go to the folder X which contains that python file and app.yaml file, and find the path to the folder using “Get Info”. Drag and drop that path here.
Aaannd, press enter! You should see the Terminal get to work, spit out a few lines, yada yada yada and then finally display that it has set up an admin at localhost:8000 etc. Well, this means you can go to http://localhost:8080 in your web browser and see your app in action!
We’ve set up Google App Engine. The rest (how to write code for web applications which can be deployed on it), you can learn somewhere else. Such as Udacity.
Alright, off you go!


